Making simple GPU-accelerated drawing app with C and WASM
If you are wondering how app like figma, google maps and other apps that uses webassembly and GPU acceleration are made, I will show you. In this demonstration you will learn how to compile C code to webassembly, how to use it in the browser, and how to integrate your wasm with your frontend.
In this demonstration we will make the following app.
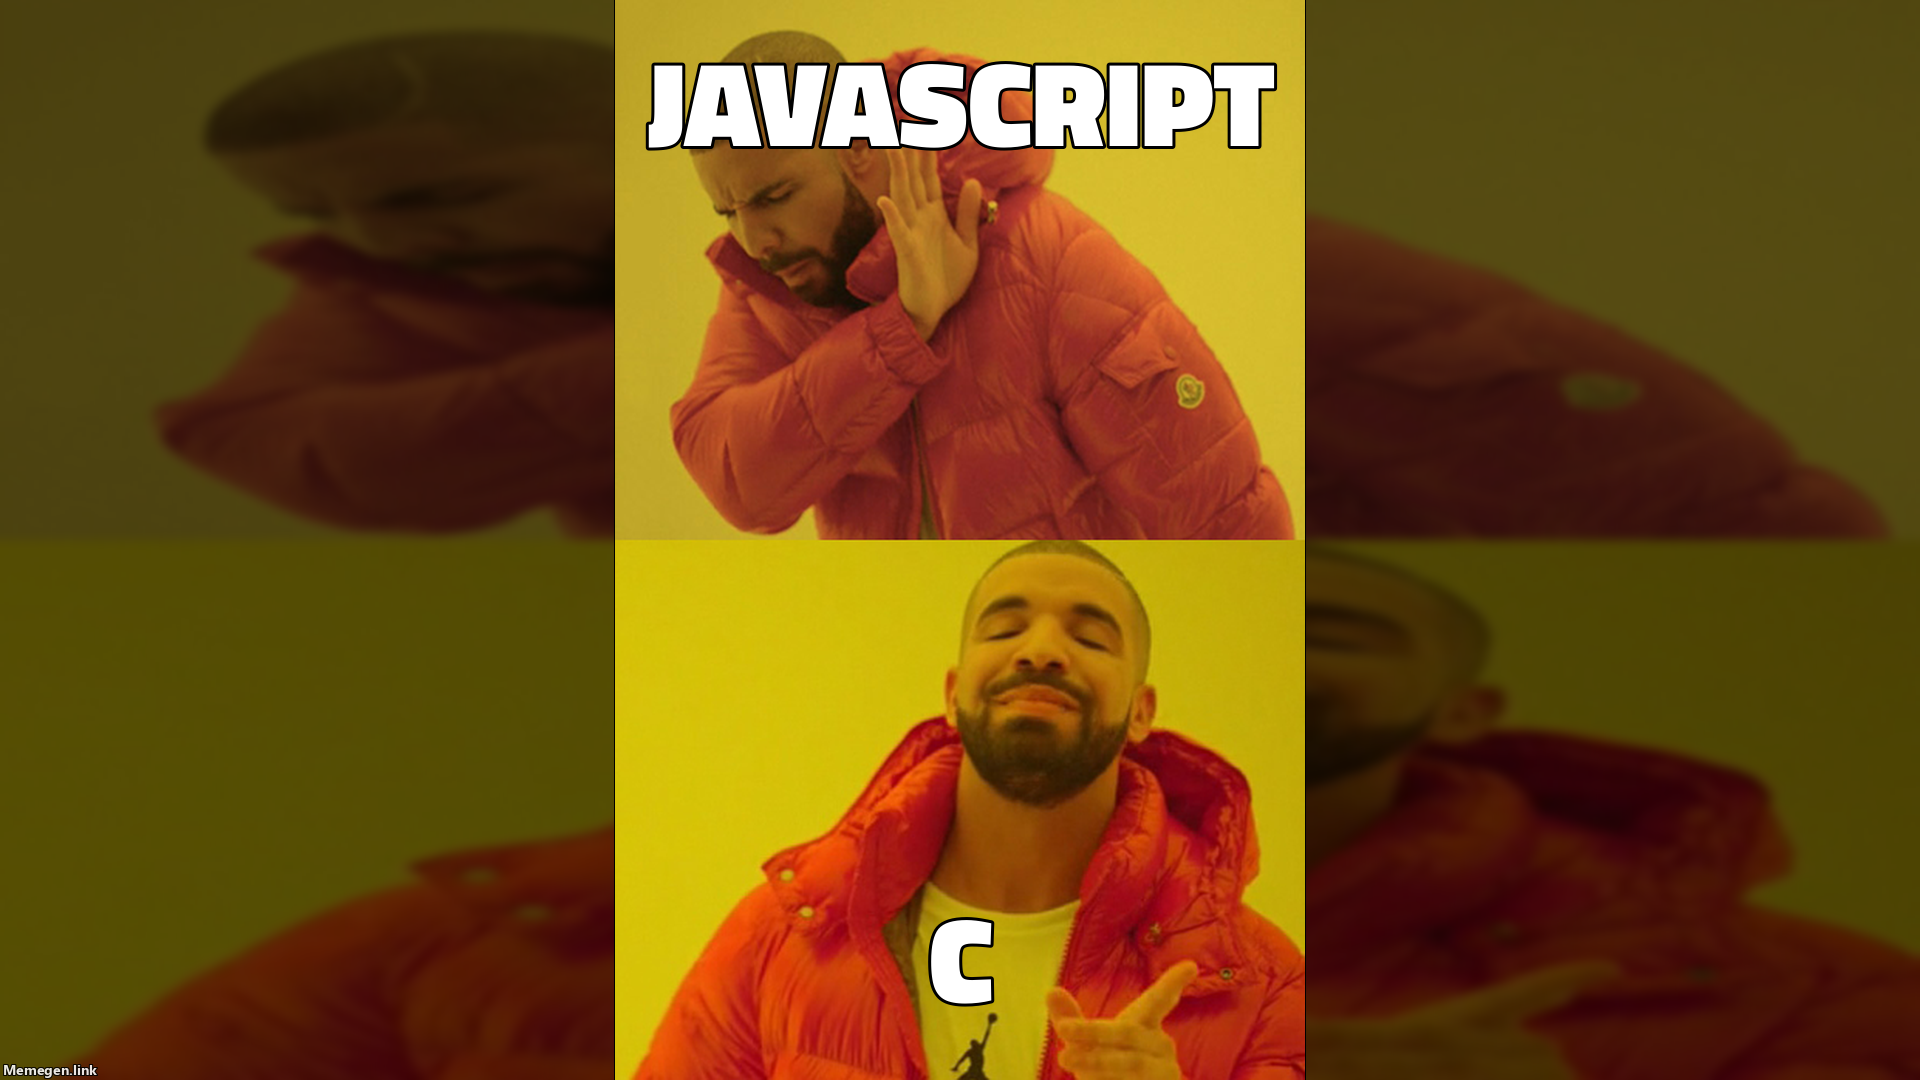
Why C ?
C is small. The resulting Wasm that is generated is very very small. In fact, a simple hello world program in C will generate a Wasm that is about 800 bytes. As compared to GO or Rust which generate 2MB-sized Wasm.
First Step, hello world
In this step, i will show you can compile C code to Wasm.
Before that you will need to install emscripten.
# ubuntu
sudo apt install emscripten

# arch linux
sudo pacman -S emscripten
Then write a C file.
// main.c
#include <stdio.h>
int main() {
    printf("Hello, World!\n");
    return 0;
}
Then you compile it to wasm using the following command:
emcc main.c -o index.html
I know it seems weird compiling C to html, but this is how it works.
Then you will need to serve the html file. Note that you can't use the file protocol because you have to serve the wasm tooo.
Congratulations! You have successfully compiled C code to Wasm.
Second Step, Compiling dependancies.
This part is admittedly a bit complicated. Typical C, different depedancies have different ways of compiling. In this demonnstration, we use raylib as dependency. They have a guide on how to compile raylib to wasm depenedancy. You will have to read it on your own.
In case youre lazy, i prepared a skeleton repo for you. You can find it on github.
Other things you need to know before we start.
Shell HTML
Emscripten will generate an html file for your project. In case you want to provide you own html file you will need a shell html file. This file can be anything you want. but you will have to provide {{{script}}} in the end of your html file. This will be injected by emscripten.
So something like this:
<!DOCTYPE html>
<html>
  <body>
    .........
    {{{script}}}
  </body>
</html>
Then you will have to provide this flag --shell-file when you compile your wasm.
So something like this:
emcc main.c -o index.html --shell-file shell.html
Async support
By default your wasm is synchronous. However, in this project you want your wasm to always run in the background asynchronously. In order to do this you have to provide this option -sASYNCIFY when you compile your wasm.
So something like this:
emcc main.c -o index.html -sASYNCIFY --shell-file shell.html
GLFW
Raylib uses GLFW as a windowing system. This means that you need to provide yet another option -sUSE_GLFW=3 when you compile your wasm.
in the end your compile command will look like this:
emcc main.c -o index.html -sASYNCIFY -sUSE_GLFW=3 --shell-file shell.html
All this is is included in the skeleton repo.
Let's Start : Drawing rectangles
Initialize openGL
First of all we need to initialize OpenGL.
#inlcude <raylib.h>
int main(){
    const int screenWidth = 800;
    const int screenHeight = 450;

    InitWindow(screenWidth, screenHeight, "Drawing app");
}
Game loop
Second, we need to create a game loop. A game loop is a loop that runs in the background, and is constantly updating, and drawing our app.
....
while(!WindowShouldClose()) {
  // code here
}
Drawing.
In this app, The user drags and draw rectangles of different colors.
So we need a struct to store the rectangles and the color.
typedef struct myRectangle{
  Rectangle rec;
  Color col;
} myRectangle;
Then we need a array of these. We also need to store how many rectangles we have.
We also need to store the current selected color, by default lets make it black.
#define MAX_RECTANGLES 255

typedef struct myRectangle{
  Rectangle rec;
  Color col;
} myRectangle;

Color col;

int main(){
    // Initialization
    ....

    myRectangle rects[MAX_RECTANGLES];
    int count = 0;
    col = BLACK;

    while(!WindowShouldClose()) {
      // code here
    }
}
So first, we need to store the beginning position of the mouse when the user starts dragging. Put this inside the game loop.
Then, when the user stops dragging, we need to create a rectangle and add this to the array.
Vector2 from;

while (!WindowShouldClose()) {
  ClearBackground(RAYWHITE);

  BeginDrawing();

    if (IsMouseButtonPressed(MOUSE_LEFT_BUTTON)) {
      from = GetMousePosition();
    }

    if (IsMouseButtonReleased(MOUSE_LEFT_BUTTON)) {
      Vector2 to = GetMousePosition();
      Rectangle rec = (Rectangle){from.x, from.y, to.x - from.x, to.y - from.y};
      rects[count] = (myRectangle){rec, col};
      count++;
    }

  EndDrawing();
}
Now that we managed to add retangles to the array, we need to draw them. Let's draw then before all the logic.
Vector2 from;

while (!WindowShouldClose()) {
  ClearBackground(RAYWHITE);

  BeginDrawing();

    // Draw the ractangles
    for (int i = 0; i < count; i++) {
      Rectangle rec = rect[i].rec;
      Color col = rect[i].col;
      DrawRectangle(rec.x, rec.y, rec.width, rec.height, col);
    }

    // Logic to add is below
    .....
  EndDrawing();
}
The problem here is that that the rectangle is draw only when the user releases the mouse button. So we need to draw the temporary rectangle when the user is still dragging the mouse.
if(IsMouseButtonDown(MOUSE_LEFT_BUTTON)) {
  Vector2 to = GetMousePosition();
  Rectangle rec = (Rectangle){from.x, from.y, to.x - from.x, to.y - from.y};
  DrawRectangle(rec.x, rec.y, rec.width, rec.height, col);
}
So in the end your code will look something like this:
#include <raylib.h>
#define MAX_RECTANGLES 255

typedef struct myRectangle{
  Rectangle rec;
  Color col;
} myRectangle;

Color col;

int main(){
    const int screenWidth = 800;
    const int screenHeight = 450;

    InitWindow(screenWidth, screenHeight, "Drawing app");

    myRectangle rects[MAX_RECTANGLES];
    int count = 0;

    col = BLACK;

    ClearBackground(RAYWHITE);

    BeginDrawing();

      // Draw the ractangles
      for (int i = 0; i < count; i++) {
        Rectangle rec = rect[i].rec;
        Color col = rect[i].col;
        DrawRectangle(rec.x, rec.y, rec.width, rec.height, col);
      }

     if (IsMouseButtonPressed(MOUSE_LEFT_BUTTON)) {
        from = GetMousePosition();
      }

    if (IsMouseButtonReleased(MOUSE_LEFT_BUTTON)) {
      Vector2 to = GetMousePosition();
      Rectangle rec = (Rectangle){from.x, from.y, to.x - from.x, to.y - from.y};
      rects[count] = (myRectangle){rec, col};
      count++;
    }

    if(IsMouseButtonDown(MOUSE_LEFT_BUTTON)) {
      Vector2 to = GetMousePosition();
      Rectangle rec = (Rectangle){from.x, from.y, to.x - from.x, to.y - from.y};
      DrawRectangle(rec.x, rec.y, rec.width, rec.height, col);
    }
    EndDrawing();
}
Changing Color
We want to be able to change the selected color from a color picker in the html.
First lets make a c function that accepts an rgb hex value and changes the global variable col.
void setColor(unsigned int hex) {
  unsigned int r = (hex & 0xFF0000) >> 16;
  unsigned int g = (hex & 0xFF00) >> 8;
  unsigned int b = (hex & 0xFF);

  col = (Color){r, g, b, 255};
}
We want to change this from the html so we need to expose this function to javascript.
In order to do that we need to export the function. To do that we need to add a compilation option -s EXPORTED_FUNCTIONS to the command line. We also need to export the ccall and cwrap runtime methods.
We need to prefix our functions with an underscore _.
like this:
emcc main.c -o index.html -s EXPORTED_FUNCTIONS=_setColor,_main -s EXPORTED_FUNCTIONS=ccall,cwrap
Notice that we also need to export the main function. Thats because our main function will have to be called by our javascript too.
Then we need to call the cwrap method on the WASM module to wrap your C function in Javascript.
We need to use this on the onRuntimeInitialized callback.
let setColor

Module.onRuntimeInitialized = function () {
  console.log("Module Loaded")

  setColor = Module.cwrap("setColor", null, ["number"])
}
Notice we need to privide return type and parameter type. In this case we have null as return type because our function does not have a return value, and we have number as parameter type because we are passing a hex value.
thne you can call it like a regular javascript function.
// this is javascript
setColor(0xff0000)
Let's make a color picker.
<div class="">
  <input type="color" name="color" value="0x00 onChange="changeColor(event)" />
  <label for="color"> Pick Your Color</label>
</div>
Then in the changeColor() function we cann all our SetColor() function.
function changeColor(event) {
  let hexString = event.target.value.replace("#", "0x")
  int hex = parseInt(hexString, 16)
  setColor(hex)
}
We just changed our color.
Taking Screenshots
Notice our first exported function that this function i seemingly gettingb called from another thread ie. it doesnt interrupt the main game loop.
This is important because we need to take screenshot only after the EndDrawing() fucntion is called.
so we cant just directly call the TakeScreenshot() function from raylib.
This is how i did it.
First we add a boolean variable and a string.
bool shouldTakeScreenshot = false;
char * screenshotLocation;
Then we write a function that will be exported to javascript. Let's have a filename as an argument.
void makeScreenshot(char *filename) {
  if(shouldTakeScreenshot){
    return;
  }

  int size = strlen(filename);
  screenshotLocation = malloc(sizeof(char *) * size);
  strcpy(screenshotLocation, filename);

  shouldTakeScreenshot = true;
}
then we add this after the EndDrawing() function call.
...
EndDrawing();
if (shouldTakeScreenshot) {
  TakeScreenshot(screenshotLocation);
  shouldTakeScreenshot = false;
}
raylib needs a javascript function saveFileFromMEMFSToDisk to save the screenshot.
function saveFileFromMEMFSToDisk(memoryFSname, localFSname){
    let isSafari = /^((?!chrome|android).)*safari/i.test(navigator.userAgent);
    let data = FS.readFile(memoryFSname);
    let blob;

    if (isSafari) blob = new Blob([data.buffer], { type: "image/png" });
    else blob = new Blob([data.buffer], { type: "image/png" });

    let link = window.URL.createObjectURL(blob);
    download(link, localFSname);
}

function download(url, name) {
    const link = document.createElement('a');
    link.href = url;
    link.download = name;
    link.click();
}
This function gets the file from MemFS (Memory File System) and converts it into a blob then saves it to disk.
Then we export it and call it. from the html.
<div class="">
  <button onclick="takeScreenShot()">Take Screenshot</button>
  <input type="text" id="screenshot-name">
</div>
Module.onRuntimeInitialized = function() {
  .....
  makeScreenshot = Module.cwrap('makeScreenshot', null, ['string']);
}

function takeScreenShot() {
  let name = document.getElementById("screenshot-name").value;
  makeScreenshot(name);
}
Notice that we dont need to convert our javascript string into a c string, emscripten does that for us.
Size optimization
I know i said that C was small, but it could be smaller.
Thanksfully emscripten has a size optimization feature.
It is called wasm-opt.
This is how we use it.
wasm-opt index.wasm -o output.wasm -Oz
-Oz is the option to optimize the size of the wasm file.